Well, got to talking, friended him on Facebook, discussions start happening and I end up agreeing to make him a BSG flightsuit. Wow, what an endeavor. I will never make another costume for money again. I will only make costumes for myself and Ken.
Before I get in to explaining the assembly process, I want to mention that this project would have never happened without Ken. He worked tirelessly on identifying parts, pouches, paint matching, cutting pieces out of material and the endless assembly of snaps. I think if Ken ever saw another snap again he'd... snap (o.O)!
Anyways, here's some photographs from the construction process.
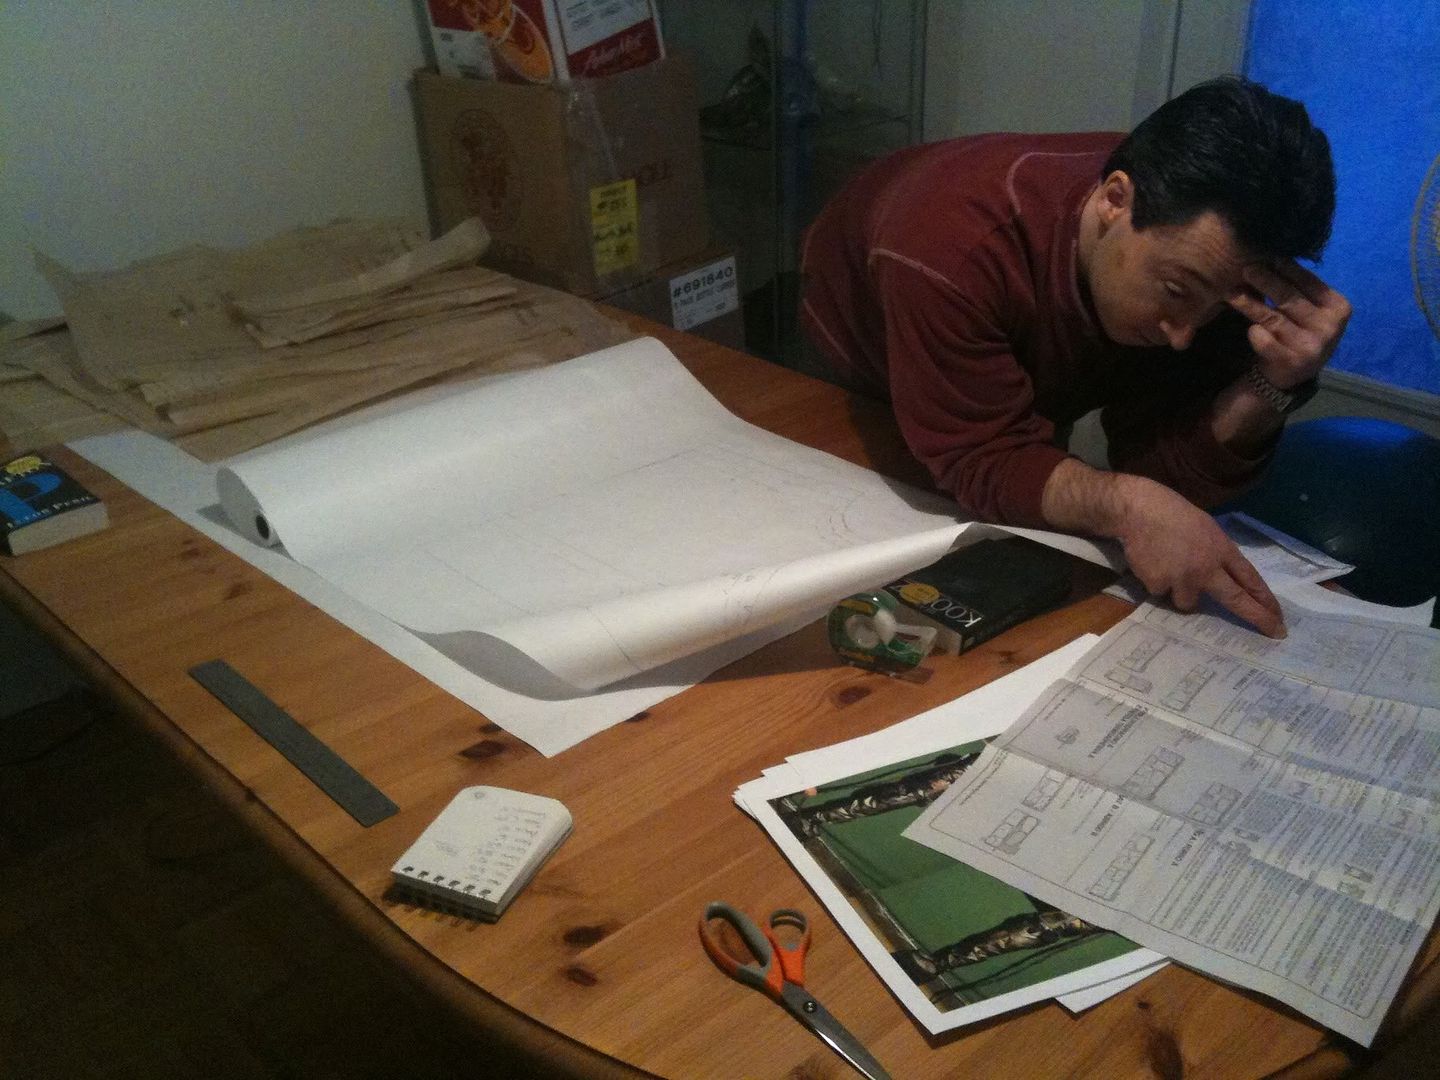 Designing the pattern. This was a difficult process. We started with a civil war officer's uniform pattern which was designed as a pair of trousers and a short jacket. I chose this pattern because the collar matched what I saw of the screen used flight suit. We merged the waist line of the trousers with the waist line of the jacket and had something to start with. Of course, the first time I made the suit, I did so out of some cheap canvas material that was not stretchy and relatively easy to work with.
 Testing layouts. I suck with laying out pattern pieces on fabric and whatever directions that were included with the original pattern could not apply to this piece. So utilizing the biggest open space in the house, we laid out the test fabric and put down the pieces to try and account for three yards of fabric. We had ten yards of the Sommers material for three suits, so we knew there would be no do-overs. I'm happy to say, I have approximately one yard of the fabric left. I plan to use this to remake the collar on the first Flightsuit. It turned out a little large, so cutting it back will be an easy thing.
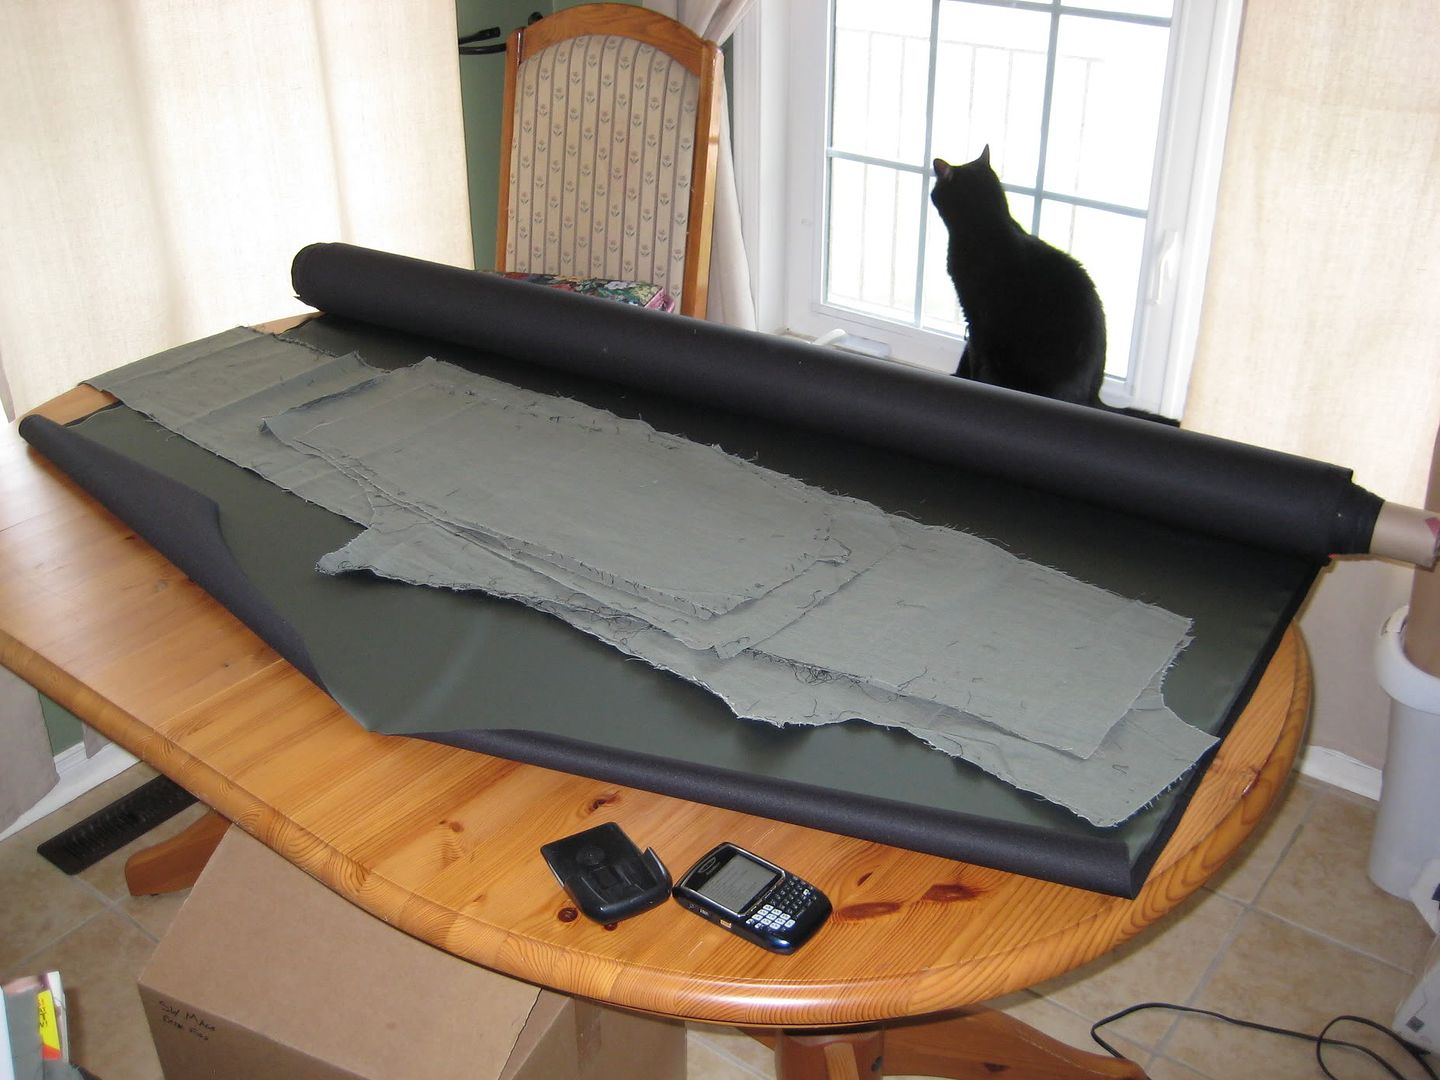 The fabric and workspace (and Pixel). Yes, that's the pest in the window. He constantly tried to jump up in my lap. One thing I wish I could have better lighting in the workspace, but the table will easily seat six, so there was ample room to work on each suit. The sewing machine was a gift from my Legion CO, it was his grandmother's machine. It goes forward and backward. That's all I needed. It powered through everything, but it does need a good cleaning and servicing. I think I really pushed its limits with these three flight suits.
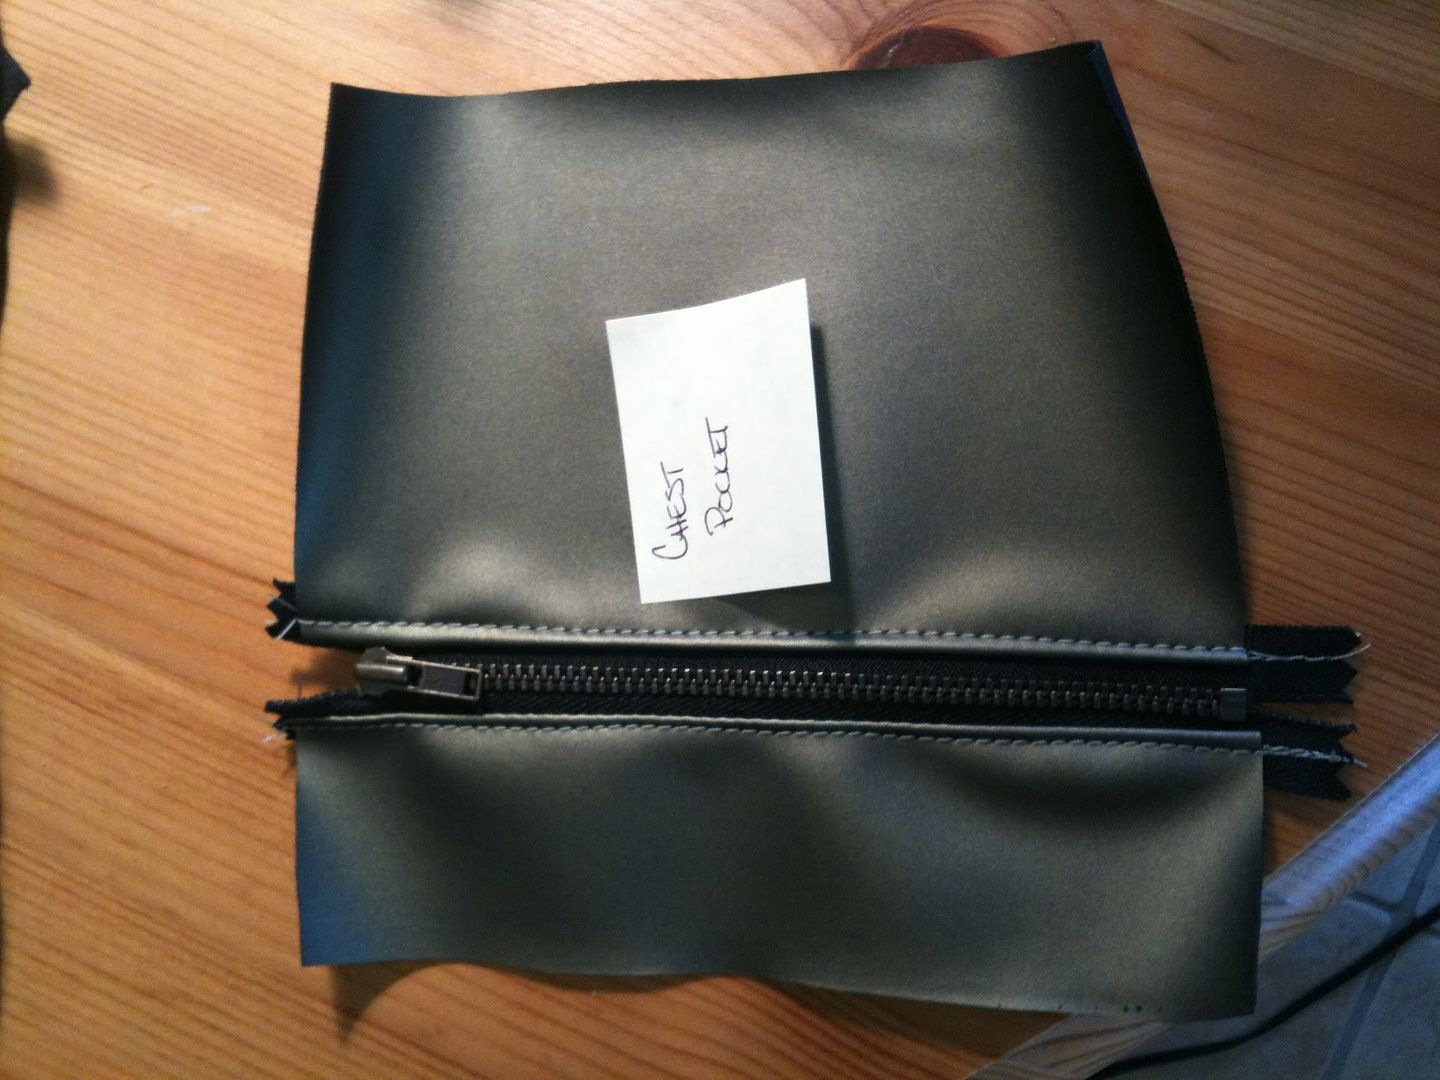 The pockets had to be made first. Oddly enough, while I have difficulty placing pattern pieces on fabric to make the best use of the fabric, I have no problems picturing how to assemble garments. I knew I did not have the right hardware to be sewing pockets on lower parts of legs, or sewing windows with hardware in sleeves, so I had to position these things in the right place in the fabric panel before I assembled the piece. I ended up making all the pockets first, then the sleeves, then the front and back panels.
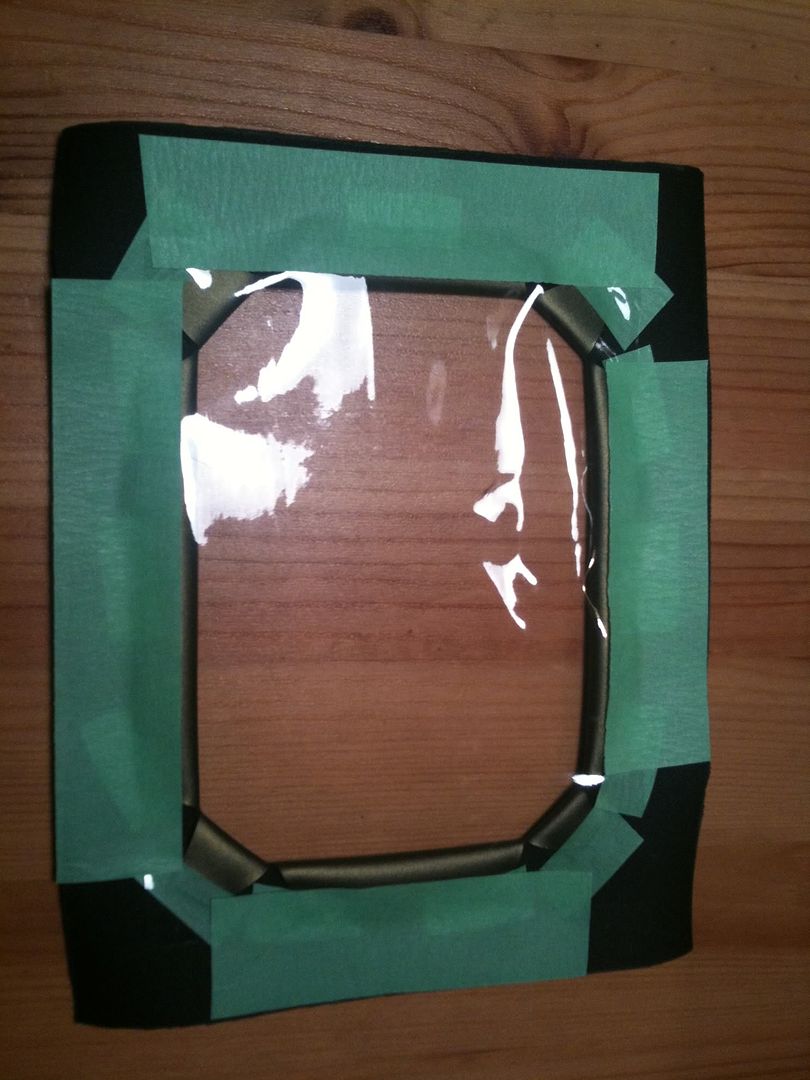 The fabric was pretty much rubber, so pins were not used. I had to be creative. I knew if I used a pin to hold two panels together, or even fold the seam allowances back for a proper double stitched edge, you would see the pinholes. The only exception to this was where I could pin a zipper or lining material to the inside seam allowance, that would be contained within the garment. Out of the three suits, one is fully lined from neck to ankle, one is three quarters lined (think shorts inside) and mine is only half lined (to the waist). I did this because honestly, I ran out of sweat wicking material. Well, I didn't run out, all the Fabriclands in Whitby and Oshawa were out of the black version. Charming, hm? I wish I could have lined the bottom half of my suit; my legs do stick to the fabric and it does get quite ... uncomfortable.
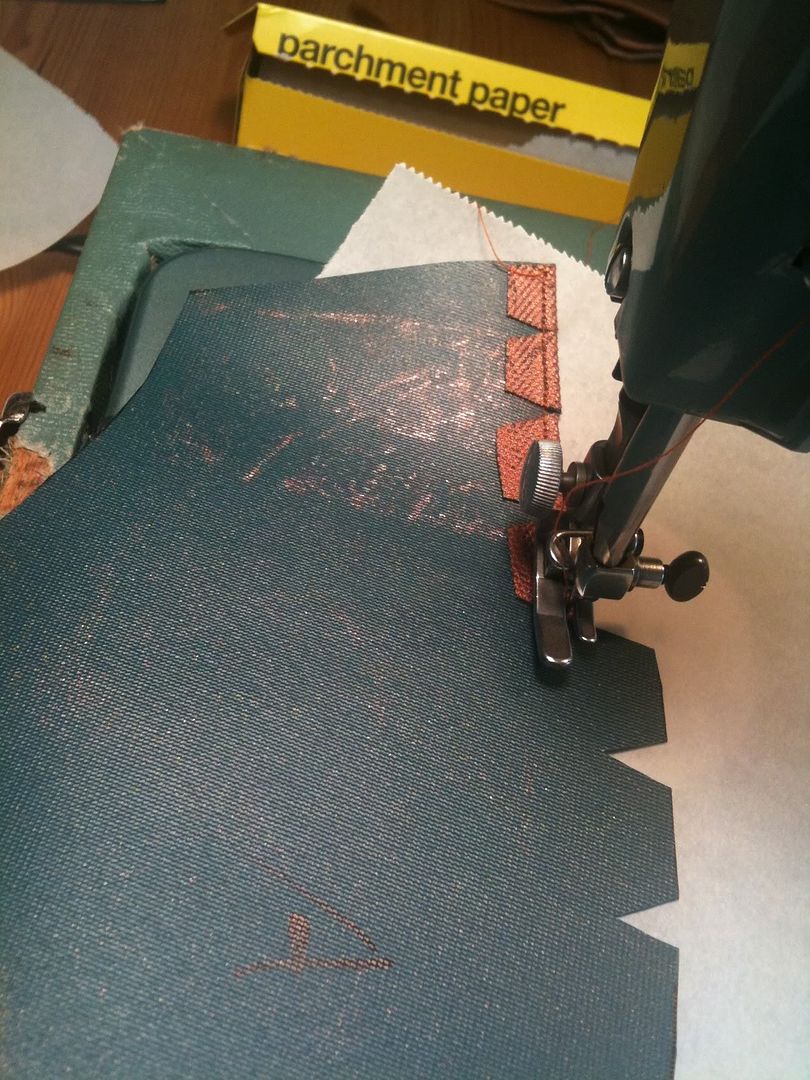 Some of the materials were very difficult to work with; the color treatment prompted stickiness and was very challenging to work through. Parchment paper allowed the material to travel freely over the machine surface, and when it started sticking to the foot, I used wax paper so I could still see the seam allowances and darts. As you can see from the photograph, the original material was green in color. What you may not be able to tell is that the material was a rubbery plastic matting, not unlike the rubber you'd use to line a tool box. It was originally sprayed a mat black, then the copper finish was applied over the base coat to give it the ability to naturally weather.
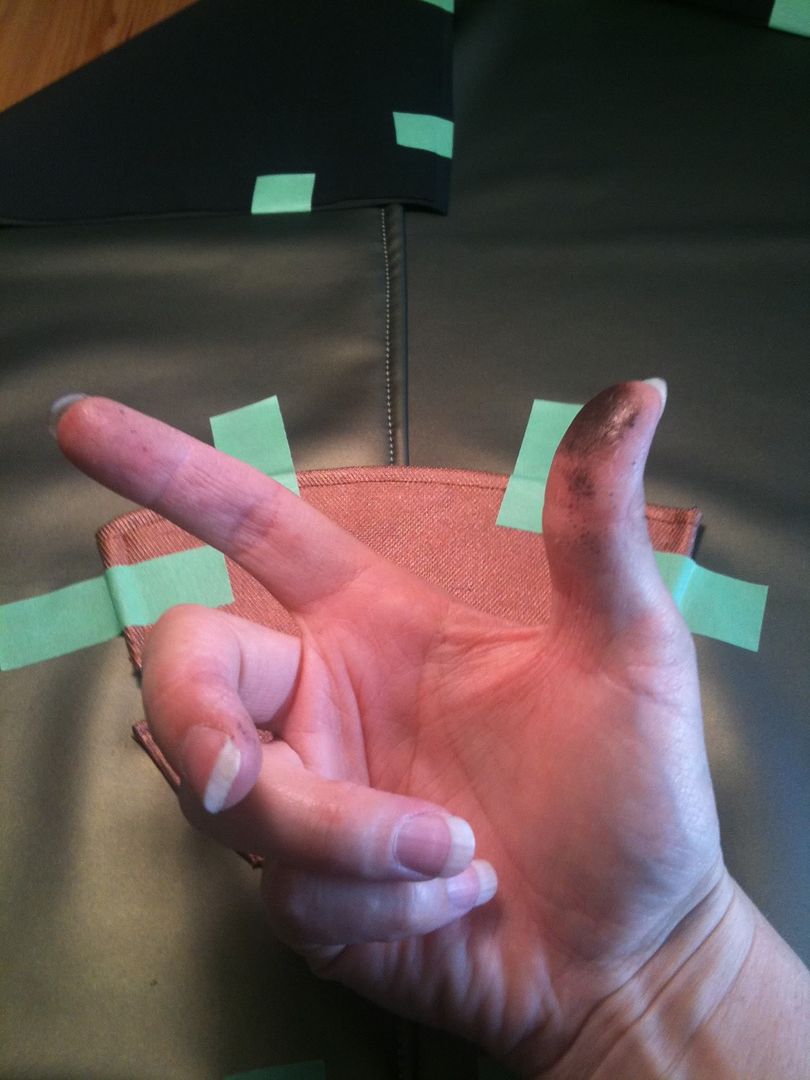 The paint also stuck to me! One of the things we've had to go and do since the initial creation of these suits is go over some of the fabric treatment to make it more permanent. I'm happy to say the copper pieces don't transfer as much as is seen in this picture, however the black (I think it was called Turbo?) material that made a large portion of the vests never did fully dry and in fact had to be stripped and repainted with a different paint. I believe black shoe paint was used to finally get the patches to be black without risk of any transfer to the suit or anyone else for that matter.
 Positioning the scales. Since all three of us were different proportions in some way, I had to eyeball the positioning of the scales on each of the three suits. If you look closely at the suits worn in the show, you'll notice that those too are positioned uniquely per person. The vest anchors on to the back of the flight suit with four heavy duty snaps. On some suits, these snaps are on the top part of the shoulder blade bridging scale, on other suits (for the tall or very tall) these snaps are anchored on the Sommers fabric above the shoulder scale. None the less, they all had to resemble a back plate of sorts, with kidney and side plates at the side seams of the suit.
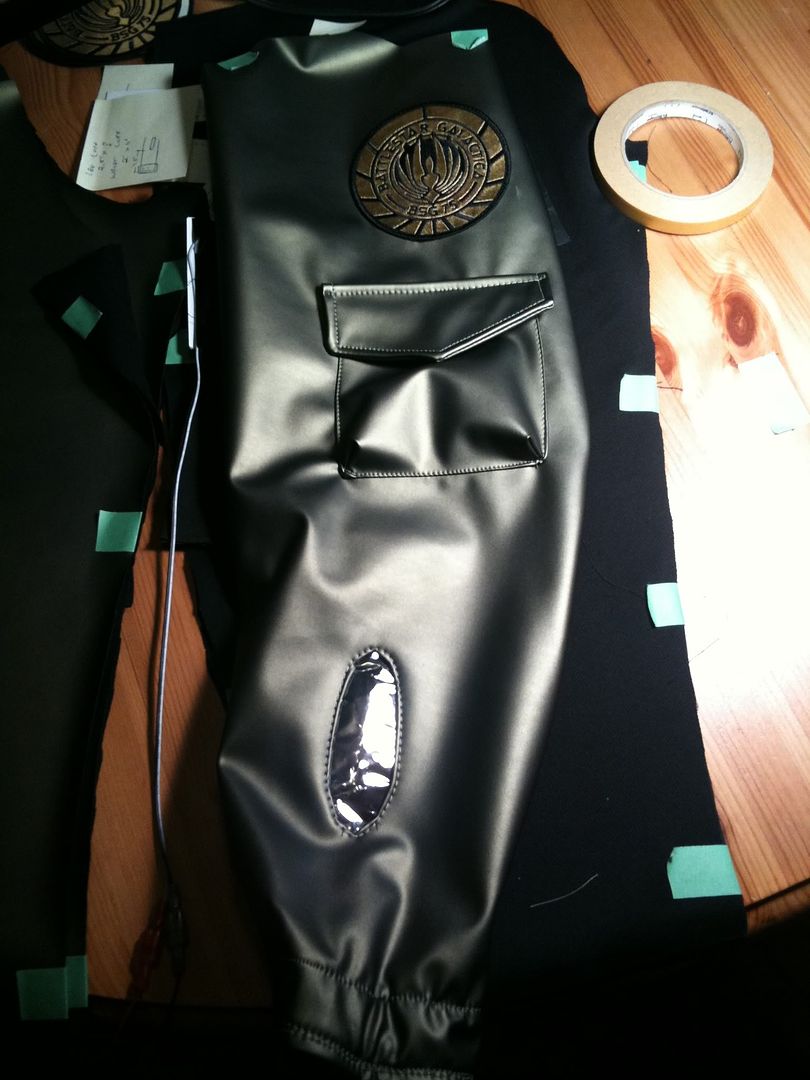 One out of six completed arms. Did I mention I made three of these things? I had to incorporate the electronics for the oxygen sensor in at the time I assembled the sleeve; any time after that would have been much too difficult. At times I felt like I was in a sweatshop. Granted yes, I left completing the suits kind of late, well, I started assembling in earnest three weeks before FanExpo '10, however I had no idea what kind of challenge it really would be. I think the grand total came to seven spools of upholstery thread, three bent heavy-duty sewing machine needles, 18 hour days, two weeks off work and finishing midnight the day before the convention actually started.
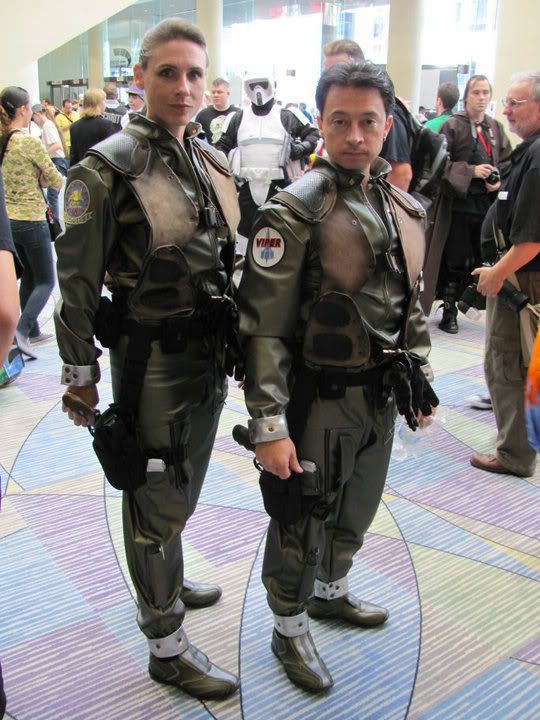
Here's the two of us in our completed suits: